Automating Deployment of Pivotal Container Service on AWS

Three major steps
With the launch of Pivotal Container Service (PKS) back a year ago, we’ve overviewed its capabilities from a developer perspective and recently explored the changes introduced in version 1.3.
This blog post demonstrates how to deploy PKS version 1.2.6 on AWS in an automated way using the CLI commands rather than Ops Manager UI. In addition, you will learn how to deploy Concourse on PKS using Helm.
There are three major steps needed to deploy PKS to AWS:
- provision infrastructure
- deploy Ops Manager
- deploy and configure the PKS tile for AWS
In this article, we focus on the things not covered in the official PKS documentation, while suggesting working solutions for the issues you may encounter in the deployment process. For instance, we explain how to use Terraform templates to automate infrastructure provisioning, observe handy CLI tools to simplify some routine tasks, as well as illustrate how to configure DNS for PKS.
Provisioning infrastructure
Before installing PKS, it is necessary to create and configure a set of resources in AWS. So, networks, security groups, and PKS load balancer are on the list. To simplify the process, Pivotal provides a set of Terraform templates for this purpose. (Terraform is a great tool for infrastructure automation, and it can be easily downloaded and installed as a single binary from the official website.)
Terraform templates for AWS can be found in this GitHub repository or downloaded from the Pivotal Network.
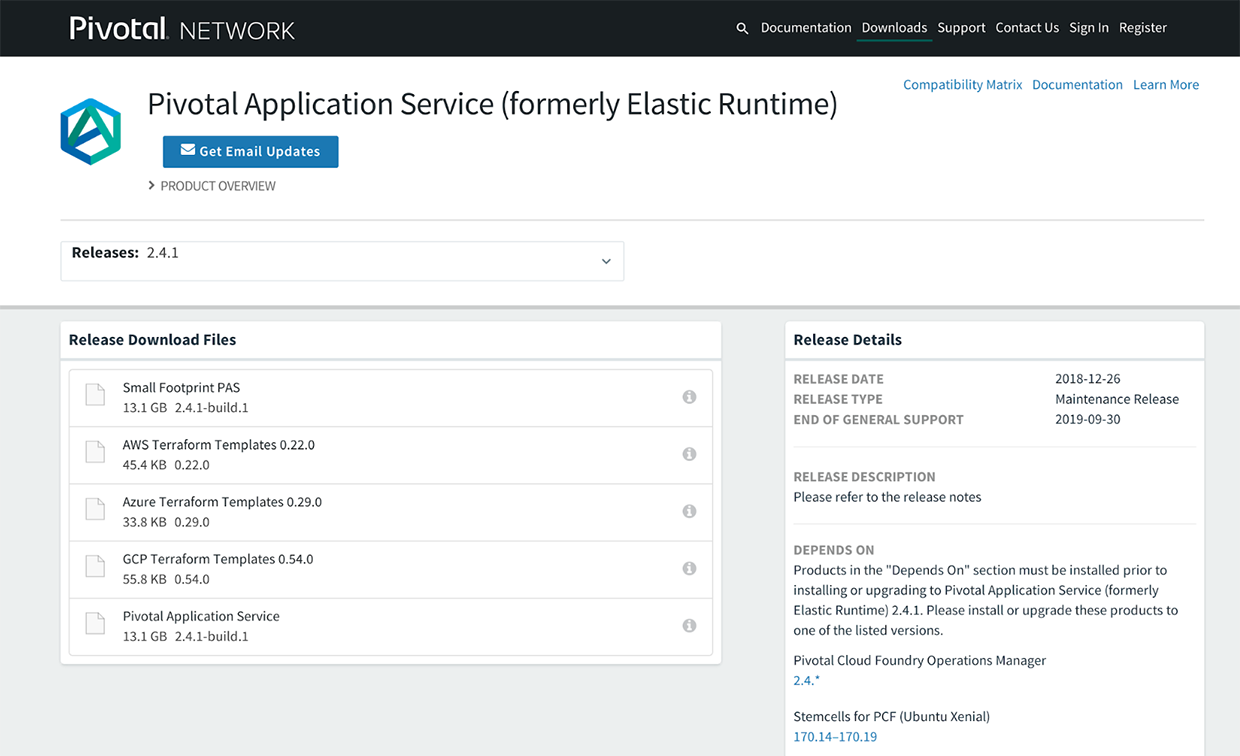 A list of Terraform templates for AWS available via the Pivotal Network (Image credit)
First, we need to create the terraform.tfvars template and set up the correct values for it. The template itself and the details about the configuration values can be found in the official guide or in this GitHub repo.
Basically, we need to set up the following configuration values:
- AWS credentials
- Env prefix (as all the resources created by Terraform will use it)
- SSL certificates for an HTTP load balancer
- A region and zones where PKS will be deployed to
- A DNS subdomain for the PKS installation
In the screencast below, you can see how to use and configure Terraform templates.

The created resources can be found either in the AWS console or via the terraform output command. Apart from the network resources, two control VMs, Ops Manager, and a NAT instance are created.
Terraform will provide a hosted zone in AWS Route 53 for your wildcard DNS subdomain selected for PCF. However, you’ll have to make an NS record in your DNS server to delegate PKS subdomain management to the AWS Route 53 service.
To find the DNS servers assigned by AWS that can be further used for PKS subdomain management, use the code below.
1 2 3 4 5 | user1@ubuntu:~/workspace/pks-pfs-investigation/pivotal-cf-terraforming-aws-323eef9/terraforming-pks$ terraform output env_dns_zone_name_servers ns-1155.awsdns-16.org., ns-1834.awsdns-37.co.uk., ns-274.awsdns-34.com., ns-958.awsdns-55.net. |
Using Ops Manager and CLI tools
As already mentioned, PKS is delivered as a tile for AWS that can be deployed using Ops Manager. If you followed the previous steps, Ops Manager is already installed via Terraform templates, and now we only need to configure it. For this purpose, use terraform output to get the value of the ops_manager_dns variable and open it in a browser.
Please note that the official documentation for this step was written for Pivotal Application Service (PAS), which has its own automation templates with slightly different names of networks. So, you should replace the names of PAS networks with the appropriate PKS ones: pks_subnet, public_subnet, and services_subnet.
Those who prefer using the CLI tooling rather than a web interface can employ the following commands to quickly download PKS and stage it to Ops Manager. (This set of commands also allows you to share the code with fellow engineers for collaboration, as well as saves the trouble of downloading/uploading gigabytes of data.)
Pivnet CLI is used to communicate with Pivotal Network. The pivnet download-product-files command helps you to download a product of choice (e.g., a tile or an archive). For PKS, this command will look as pivnet download-product-files -p pivotal-container-service -r 1.3.0 -i 289735.
To proceed with such operations as uploading or staging tiles in Ops Manager, one may try out Om-linux CLI. For example, you may upload the PKS tile using this command:
1 | om-linux -k -t https://pcf.pks-pfs.ykisialiou.xyz upload-product -p ./pivotal-container-service-1.3.0-build.38.pivotal |
In the screencast below, you can check out how these commands work in real life.

After the tile is uploaded, we can see it in the Ops Manager UI. After pressing the + button, the tile will be staged and ready for configuration. Pivotal docs are pretty straightforward about this step, so you can freely follow the instructions.
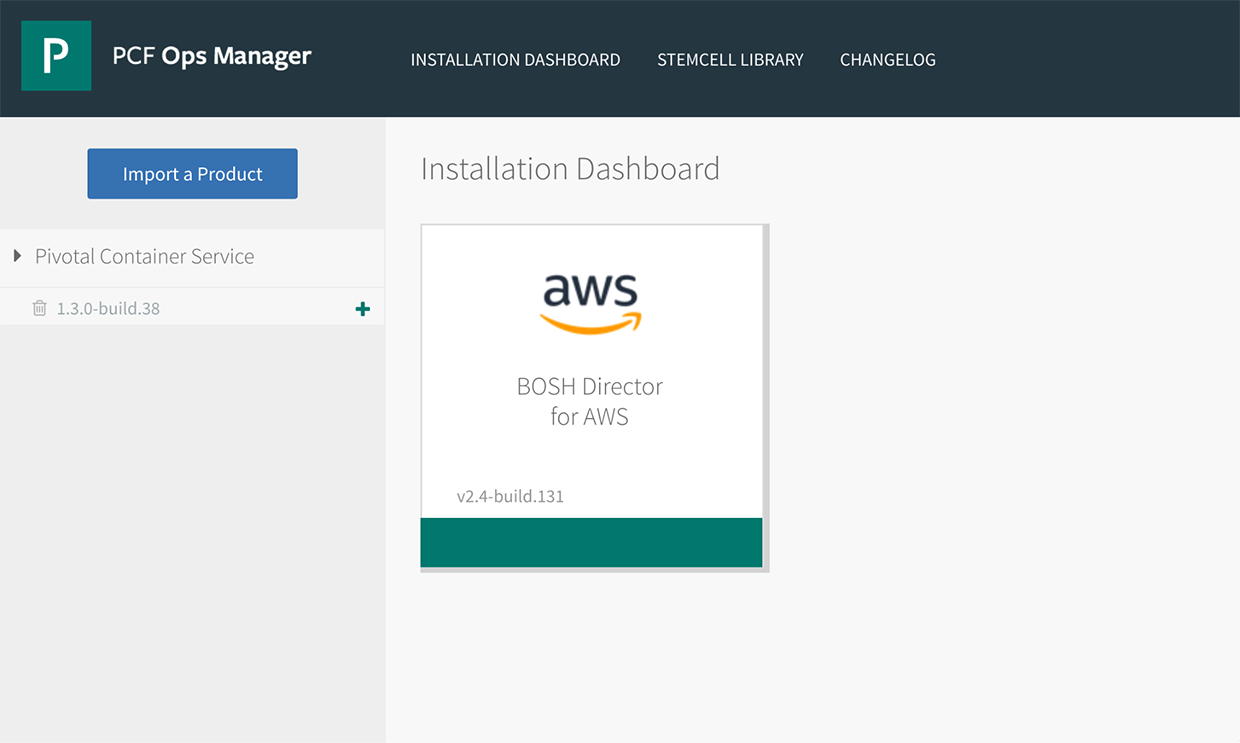 The uploaded PKS tile in Ops Manager
Not to configure the uploaded tile manually, you may also use the recently introduced om-linux config-template command. It automatically generates a YAML template for the om-linux configure-product command, which then configures the tile. However, the om-linux config-template command is an experimental one and is still under development.
How to deploy Сoncourse to PKS
After PKS is installed and configured, you’d like to have some useful workloads there. For instance, you may want to deploy Concourse to PKS for further infrastructure provisioning and enabling CI/CD pipelines.
Concourse has several deployment options, however, the most relevant option in our case is Helm—a package and dependency manager for Kubernetes, which is an integral part of PKS. Helm features a variety of charts that can be used for installing such complex systems as database clusters, message buses, or CI tools. So, by deploying a Helm chart, one gets a set of configurable Kubernetes resources necessary for a Concourse cluster.
To make Helm work, we will need a running Kubernetes cluster. Use the code below to create a cluster using the PKS CLI.
1 2 | ubuntu@jumpbox:~⟫ pks create-cluster concourse-k8s --external-hostname k8s.pks-pfs.example.xyz --plan small ubuntu@jumpbox:~⟫ pks get-credentials concourse-k8s |
Helm has two components: helm acting as a client and tiller acting as a server. Tiller will be installed automatically after you download the Helm CLI to your workstation and execute the helm init command.
1 2 3 | ubuntu@jumpbox:~⟫ wget https://storage.googleapis.com/kubernetes-helm/helm-v2.12.2-linux-amd64.tar.gz ubuntu@jumpbox:~⟫ tar -xvf helm-v2.12.2-linux-amd64.tar.gz ubuntu@jumpbox:~⟫ cp linux-amd64/helm /usr/local/bin/ |
Then, you need to create a service account, so that tiller has sufficient access rights to manage resources. (You can also check out how to proceed with this step in the official guide.)
1 2 3 4 5 6 7 8 9 10 11 12 13 14 15 16 17 18 19 20 21 22 23 24 | ubuntu@jumpbox:~⟫ cat <<EOF > tiller-service-account.yml apiVersion: v1 kind: ServiceAccount metadata: name: tiller namespace: kube-system --- apiVersion: rbac.authorization.k8s.io/v1beta1 kind: ClusterRoleBinding metadata: name: tiller roleRef: apiGroup: rbac.authorization.k8s.io kind: ClusterRole name: cluster-admin subjects: - kind: ServiceAccount name: tiller namespace: kube-system EOF ubuntu@jumpbox:~⟫ kubectl create -f tiller-service-account.yml ubuntu@jumpbox:~⟫ helm init --service-account tiller $HELM_HOME has been configured at /home/ubuntu/.helm. Happy Helming! |
After the “Happy Helming!” message appears, we can use the helm component to deploy Concourse.
1 | ubuntu@jumpbox:~⟫ helm install stable/concourse --name concourse |
In general, this command should deploy a Concourse cluster with default parameters. Though, some additional actions may be needed for the initial PKS installation on AWS.
For example, you may experience some issues with Kubernetes pods that failed to start. In this case, you will come across the following error in the log:
1 | reason: 'FailedBinding' no persistent volumes available for this claim and no storage class is set |
This happens because Helm charts installed for Concourse rely on the default storage class, which has to be configured to provide persistent volumes. Use the code below to do so.
1 2 3 4 5 6 7 8 9 10 11 12 13 | ubuntu@jumpbox:~⟫ cat <<EOF > concourse-storage-class.yml kind: StorageClass apiVersion: storage.k8s.io/v1 metadata: name: default-storage annotations: storageclass.kubernetes.io/is-default-class: “true” provisioner: kubernetes.io/aws-ebs EOF ubuntu@jumpbox:~⟫ kubectl create -f concourse-storage-class.yml ubuntu@jumpbox:~⟫ kubectl get storageclass NAME PROVISIONER AGE default-storage (default) kubernetes.io/aws-ebs 6m |
Charts are configurable, and you can access a list of configuration options for Concourse in this GitHub repo.
By default, a Helm chart has only internal connectivity. To enjoy the perks of external connectivity, we need a load balancer to access Concourse workloads. A load balancer can be created automatically using the Kubernetes API. For this purpose, you first have to tag a public network with kubernetes.io/cluster/service-instance_CLUSTER-UUID, where CLUSTER-UUID is a unique cluster identificator invoked by the pks cluster command.
 An example of the tagged subnet
After that, run the following code.
1 2 3 4 5 6 7 8 9 10 11 12 13 | ubuntu@jumpbox:~⟫ export PASSWORD=$(< /dev/urandom tr -dc _A-Z-a-z-0-9 | head -c${1:-32};echo;) cat > concourse.yaml <<EOF secrets: localUsers: "concourse:$PASSWORD" web: service: type: LoadBalancer EOF ubuntu@jumpbox:~⟫ helm install stable/concourse --name concourse -f concourse.yaml ubuntu@jumpbox:~⟫ kubectl get svc NAME TYPE CLUSTER-IP EXTERNAL-IP PORT(S) AGE concourse-web LoadBalancer 10.100.200.233 a6c3a1584199711e9adf01294a75ddd9-149321500.us-east-1.elb.amazonaws.com 8080:31671/TCP,2222:31476/TCP 2 |
You will be able to access and use the newly deployed Concourse by a DNS name of the created load balancer. The code above also generates a secure password for Concourse. After the code execution, you can access a Concourse installation access via the fly CLI.
1 | fly --target example login --concourse-url http://a6c3a1584199711e9adf01294a75ddd9-149321500.us-east-1.elb.amazonaws.com :8080 -u concourse -p $PASSWORD |
As you see, one can employ CLI tooling available either through the Pivotal ecosystem or popular third-party providers to automate the process of deploying production-grade PKS workloads. These CLI tools can also be efficiently used to integrate enterprise-ready CI/CD software, such as Concourse, to PKS.
Further reading
- K8s Meets PCF: Pivotal Container Service from Different Perspectives
- Evaluating Pivotal Container Service for Kubernetes Clusters
- Kubernetes Cluster Ops: Options for Configuration Management
About the author
 Yauheni Kisialiou is a Cloud Foundry DevOps Engineer at Altoros. He specializes in enterprise cloud platform support and automation, using his 8 years of experience in cloud administration and building cloud systems. Yauheni is highly adept at creating BOSH releases and using BOSH for deploying Cloud Foundry and other services. Now, he is part of the team working on container orchestration enablement for a leading insurance company.