Deploying a Ruby on Rails App and Binding Services with Predix

Prerequisites
To deploy a Ruby on Rails application, you must have the following:
- the Predix platform user account
- the Cloud Foundry CLI
A sample Ruby on Rails application ready to be deployed to GE Predix is available in the predix-rails-starter-app repository on the Altoros GitHub account.
First steps in Predix
Most of the time, you’ll interact with the platform through the Cloud Foundry CLI. After installing the package, proceed with logging in to Cloud Foundry by issuing the following command in your terminal:
1 | cf login -a API_ENDPOINT |
where API_ENDPOINT is the URL value that was sent to you in the Predix signup e-mail.
Depending on your Predix registration, the value of API_ENDPOINT is one of the following:
https://api.system.aws-usw02-pr.ice.predix.iofor Predix Basichttps://api.system.asv-pr.ice.predix.iofor Predix Select
Adding services
Before deploying your application, make sure to create necessary service instances for it. If a service is available in Predix and you have the required access to that service, you can use it for your application development.
For viewing services and plans available to you, run the cf marketplace command or open Catalog.
Creating and binding service instances
To create a service instance for your application, use the cf create-service command:
1 | cf create-service SERVICE PLAN SERVICE_INSTANCE |
where:
SERVICEis the service name.PLANis the service plan.SERVICE_INSTANCEis the unique name for the service instance.
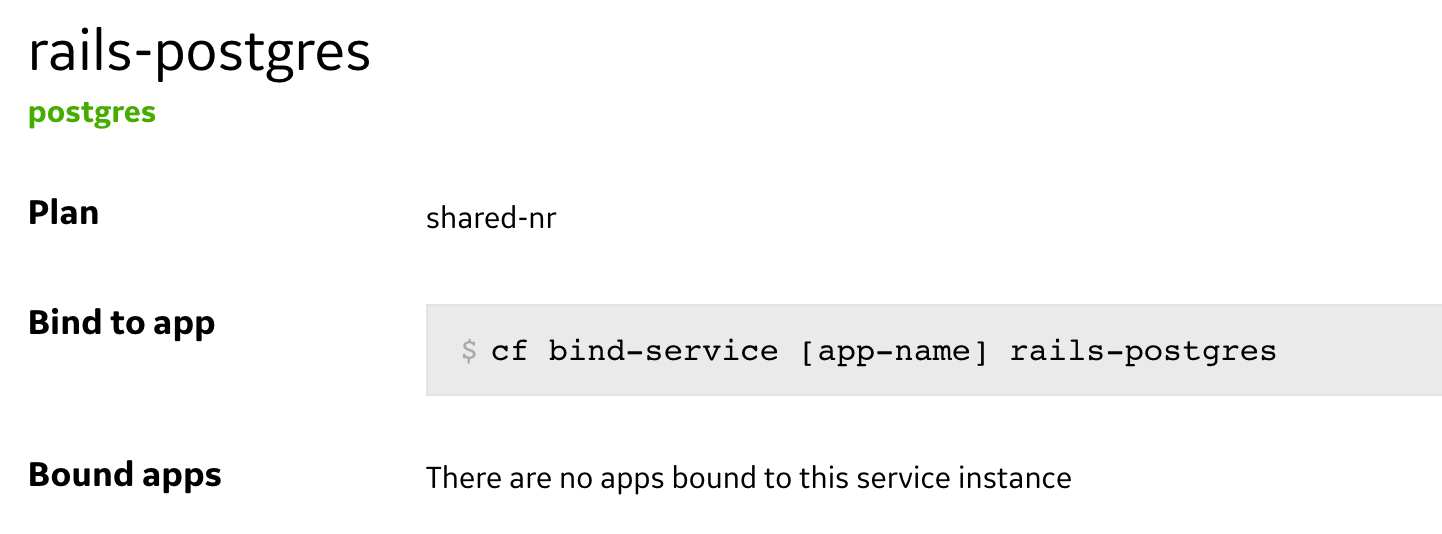
Issue the following command in the terminal to create a PostgreSQL service instance—named rails-postgres—for the sample Rails application:
1 | cf create-service postgres shared-nr rails-postgres |
You can see a newly created service instance by running the cf services command or opening the default dev space in the Predix console.
You have to bind your application to your service instance for integrating the application with the service instance. There are two options on how you can do this:
- manually by using the
cf bind-servicecommand - automatically by providing the list of services needed for an application in the
manifest.ymlfile.
To bind your application to the service instance manually, enter the following command (you need to ensure that your application is available in Predix):
1 | cf bind-service APP_NAME SERVICE_INSTANCE |
where:
APP_NAMEis the name of the application you want to bind to your service instance.SERVICE_INSTANCEis the name of the service instance you want to bind your application to.
Because the number of service instances you want to bind your application to can grow, I find it tedious to bind each service instance manually. You can specify the services sub-block in the applications block of the manifest.yml file to bind them automatically. Here’s the excerpt from the manifest.yml file of predix-rails-starter-app:
1 2 3 4 5 | applications: - name: predix-rails-starter-app ... services: - rails-postgres |
When you bind your application to a service instance, Cloud Foundry provisions its connection details in the JSON encoded VCAP_SERVICES environment variable. So, to get access to the services, you have to parse JSON to get parameters you need. Here’s how it’s done in the config/database.yml file of the Rails starter application:
1 2 3 | ... production: url: <%= JSON.parse(ENV['VCAP_SERVICES']).dig('postgres', 0, 'credentials', 'uri') if Rails.env.production? %> |
Deploying the application to Predix
Specify the following terminal command to create a local copy of predix-rails-starter-app:
1 | git clone https://github.com/Altoros/predix-rails-starter-app |
The newly created directory contains the manifest.yml file, which assists you with deploying the application.
Go to the application directory and run the following command to deploy the application to Predix:
1 | cf push APP_NAME |
where APP_NAME is an optional application name that you can provide to override the application name specified in manifest.yml.
To view logs while deploying the application, you can launch a new terminal window and run the cf logs predix-rails-starter-app command.
Verifying the application
Running the cf push command creates a URL route to your application that you can retrieve by issuing the following command:
1 | cf app APP_NAME |
where APP_NAME is the application name.
Verify that the application is running by browsing to the URL generated in the output of the previous command. In this example, navigating to predix-rails-starter-app.run.aws-usw02-pr.ice.predix.io verifies that the application is running.
About the author
 Dzianis Dashkevich is a software engineer at Altoros. He specializes in web development, using Ruby and JavaScript as his primary tools. Dzianis is an adherent of extreme programing practices, including pair programming and TDD. You can find him on GitHub.
Further reading
- Deploying an ASP.NET Application to GE Predix
- Using Predix Mobile Services for a Cross-Platform App
- Predix GA: GE Is Working on Security, Mobile Services, and Automating Ops
edited and published by Victoria Fedzkovich and Alex Khizhniak.